Google Tag Manager Archives
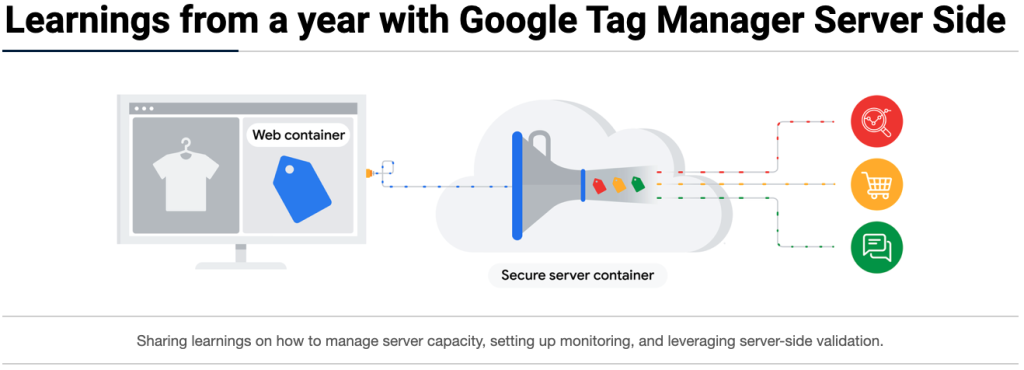
Learnings from a year with Google Tag Manager Server Side
Over the last few years, I’ve written several times about Google Tag Manager, especially when I was at The Next Web as we had an extensive integration. Something we ran into over time was the lack of being able to send events that needed validation or were triggered from the front-end. At the time, I asked the […]
Moving away from onclick events, data attributes it is
Onclick attributes are amazing to easily sent some data to the dataLayer. It will make sure that on every click the data is being sent, let’s for example look at this: <a href=”http://example.com” onclick=”dataLayer.push({‘eventCategory’:’Click’, ‘eventAction’:’This Link’, ’eventLabel’:’Anchor Text’});”>Link</a> Looks valid right? It is and it will work for you. But the problem is that with […]